Tools and Materials Needed:
1.Black, orange, white, and other Halloween-themed nail polish.
2.Clear base coat.
3.Clear topcoat.
4.Small brushes or dotting tools.
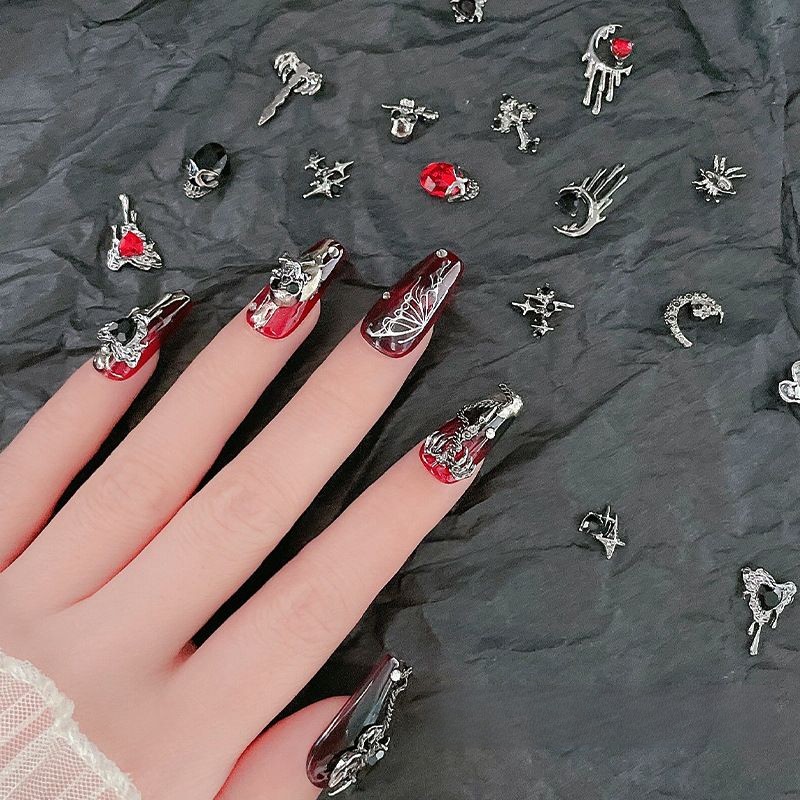
5.Nail decorations, such as pumpkins, bats, skull decorations, etc.
6.Nail glue or clear topcoat for securing decorations.
Steps:
1.Prepare Your Nails: Ensure your nails are clean, shaped, and apply a clear base coat. A base coat helps protect your nails and enhances the durability of the nail polish.
2.Apply Nail Base Color: Paint one or two coats of your chosen base color, such as orange or purple, and wait for it to dry.
3.Start Your Design: Use black, white, and other colored nail polishes to create your Halloween designs. You can try some of the following designs:Add Nail Decorations: After applying a clear topcoat to your nails, immediately place your chosen nail decorations on top. You can use small brushes or a toothpick to pick up and position the decorations, ensuring they are evenly distributed.
Pumpkin Nails: Use an orange base color and then use black and white nail polish to paint the facial features of a pumpkin, such as eyes, nose, and mouth.
Bat Nails: On a black base color, use white nail polish to draw the outline of a bat.
Skull Nails: On a white base color, use black nail polish to draw the eyes, nose, and mouth of a skull.
4.Secure the Decorations: Use nail glue or clear topcoat to gently apply over the decorations to secure them in place. Be careful not to smudge the entire nail.
5.Allow to Dry: Wait for the decorations and topcoat to dry completely.
6.Apply a Clear Topcoat: Finally, apply a layer of clear topcoat over the entire nail to protect your design and decorations while adding shine. Ensure an even application.
7.Clean Up the Edges: Use nail polish remover or a cotton swab dipped in nail polish remover to clean up any polish that may have gotten on the skin around the nail, ensuring a neat appearance.
Once you've completed these steps, wait for all nail polish and decorations to dry completely, and then you can show off your Halloween nail decorations! This process allows you to create unique designs and add a festive touch to your nails.
Post time: Sep-25-2023