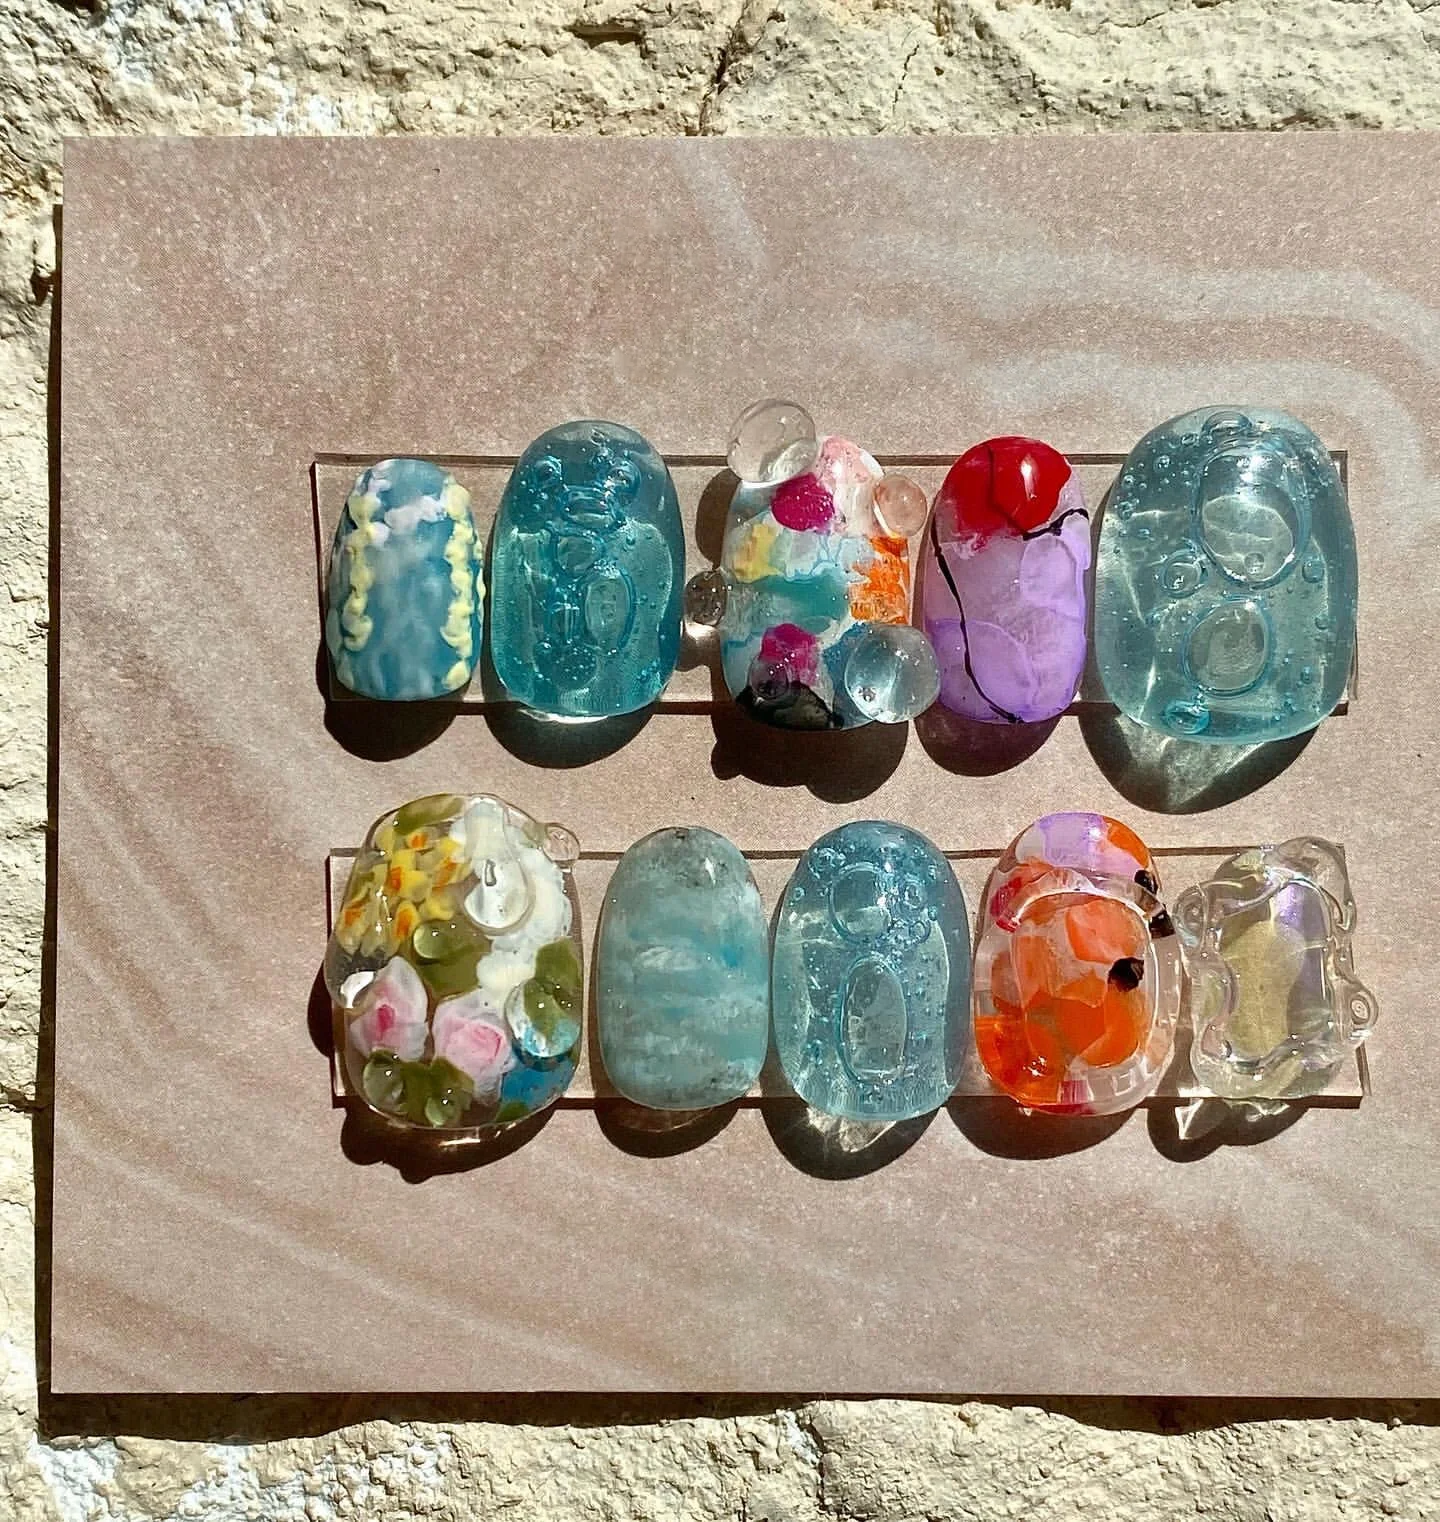
Bubble manicure is a fun manicure style that usually involves creating small bubbles or droplets on the nails, creating a drop-like pattern on the nails. Yesterday we shared some bubble manicure designs. Now let us introduce the steps to make bubble manicure:
Tools and Materials Needed:
1.Nail file: Used for shaping and smoothing the nails.
2.Nail clippers: Used for trimming the nails to the desired length.
3.Nail polish base color: Choose a light base color, such as pink, light blue, or white.
4.Clear nail polish: Used to create the bubble effect.
5.Nail polish brush or toothpick: Used for outlining the bubbles.
6.Ethanol or nail polish remover: Used for cleaning and preparing the nail surface.
7.Topcoat nail polish: Used to protect and secure the design.
Step-by-Step Instructions:
1.Preparation: Start by ensuring that your nails are trimmed and well-groomed. Use a nail file to shape the nails and then trim them to the desired length. Polish the nail surface to make it smooth.
2.Cleaning: Use ethanol or nail polish remover to clean the nail surface, removing any oils or residues.
3.Base Color: Apply your chosen base color nail polish. The base color is typically a light shade to help the bubble pattern stand out. Allow the base color to dry completely, which usually takes a few minutes to fifteen minutes.
4.Bubble Drawing: Use clear nail polish and a nail polish brush or toothpick to start outlining the bubbles on the nails. Bubbles are usually round or oval, but you can design them according to your creativity. Note that bubbles are raised, so while drawing, apply some extra clear nail polish to create a three-dimensional effect.
5.Repeat: Repeat this step across the entire nail, drawing all the bubbles. You can choose different sizes and shapes of bubbles to enhance the visual effect.
6.Drying: Let all the bubbles dry thoroughly to ensure they don't blend together. This may take some time depending on the nail polish used and the thickness of the layers.
7.Topcoat Nail Polish: Finally, apply a layer of clear topcoat nail polish to protect your design and add shine. Ensure the topcoat nail polish also dries completely.
8.Cleanup: If you accidentally get nail polish on the skin around the nails or the nail edges while drawing, use a small brush dipped in ethanol or nail polish remover to clean it up.
That's it! You have completed the creation of bubble nail art. Remember to wait for each layer of nail polish to dry thoroughly to ensure the longevity of your design. You can customize the base color and bubble colors according to your personal taste and creativity to create a unique bubble nail art look.
Post time: Sep-19-2023