Here’s a more detailed and enriched version of how to create nail art using these 3D butterfly-shaped nail art accessories:
Preparation:
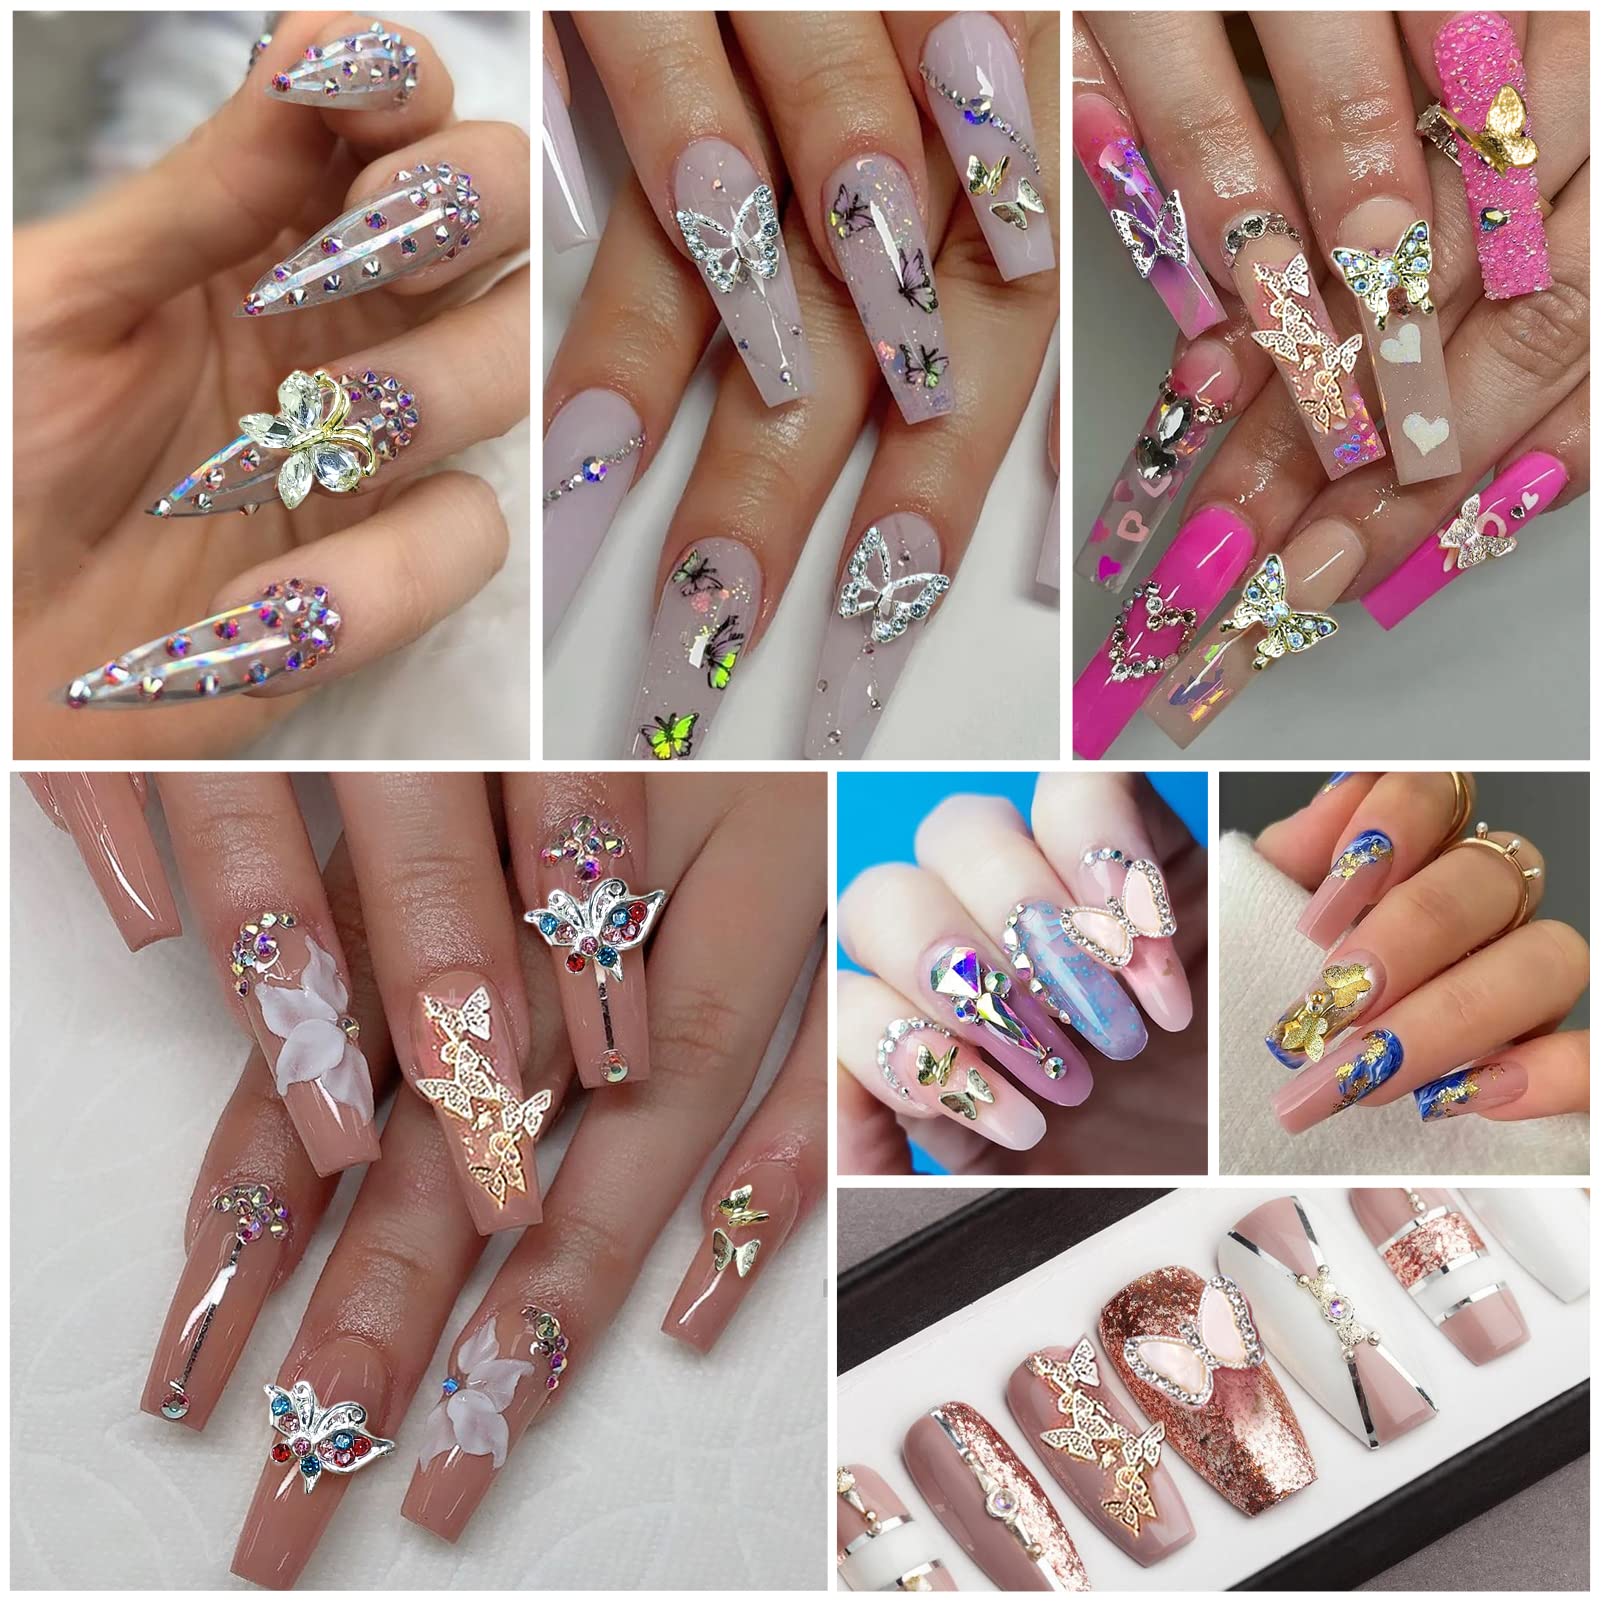
- Gather Your Tools and Materials: Make sure you have the following materials and tools ready: 3D butterfly-shaped nail art accessories(Click to learn more), nail file, nail brush, nail base coat, clear top coat, nail clippers, UV or LED lamp, cuticle pusher, nail polish remover, cotton balls, nail polish color (of your choice).
Steps:
- Prepare Your Nails:
- Use a nail file to shape and smooth the surface of your nails, ensuring they are even and free of any rough edges.
- Trim and shape your nails to your desired length using nail clippers.
- Apply the Nail Base Coat:
- Apply a thin layer of clear nail base coat to your nails.
- Place your nails under a UV or LED lamp and cure the base coat according to the product instructions, typically for 30 seconds to 1 minute.
- Choose Nail Polish Color:
- Select your preferred nail polish color and apply it to your nails.
- Place your nails back under the lamp to dry and cure the nail polish according to the product instructions.
- Apply the 3D Butterfly Decoration:
- Choose one of the 3D butterfly-shaped nail art accessories.
- Use a clear top coat to apply to the area on your nail where you want to place the 3D butterfly. Ensure that the top coat is applied evenly but not too thick.
- Gently place the 3D butterfly-shaped nail art accessory onto your nail, making sure it is positioned correctly. You can use a cuticle pusher or a small sponge to lightly press it down to ensure a secure adhesion.
- Cure the Top Coat:
- Place the entire nail under the UV or LED lamp to allow the clear top coat to dry and secure the 3D butterfly accessory in place.
- Refine and Detail:
- Use the nail file and nail brush to further refine and detail your nail art, ensuring a flawless finish.
- Apply a Protective Top Coat:
- Finally, apply a layer of clear nail protective top coat to prolong the longevity of your nail art and enhance its shine.
- Completion:
- Wait for your nails to completely dry. Congratulations, you’ve created beautiful 3D butterfly nail art!
Remember that nail art skills require practice, so don’t worry if you’re not too proficient at first. With time, you’ll become more skilled. If needed, you can also seek advice and tips from a professional nail artist.
Post time: Sep-12-2023